
Last updated October 31, 2026
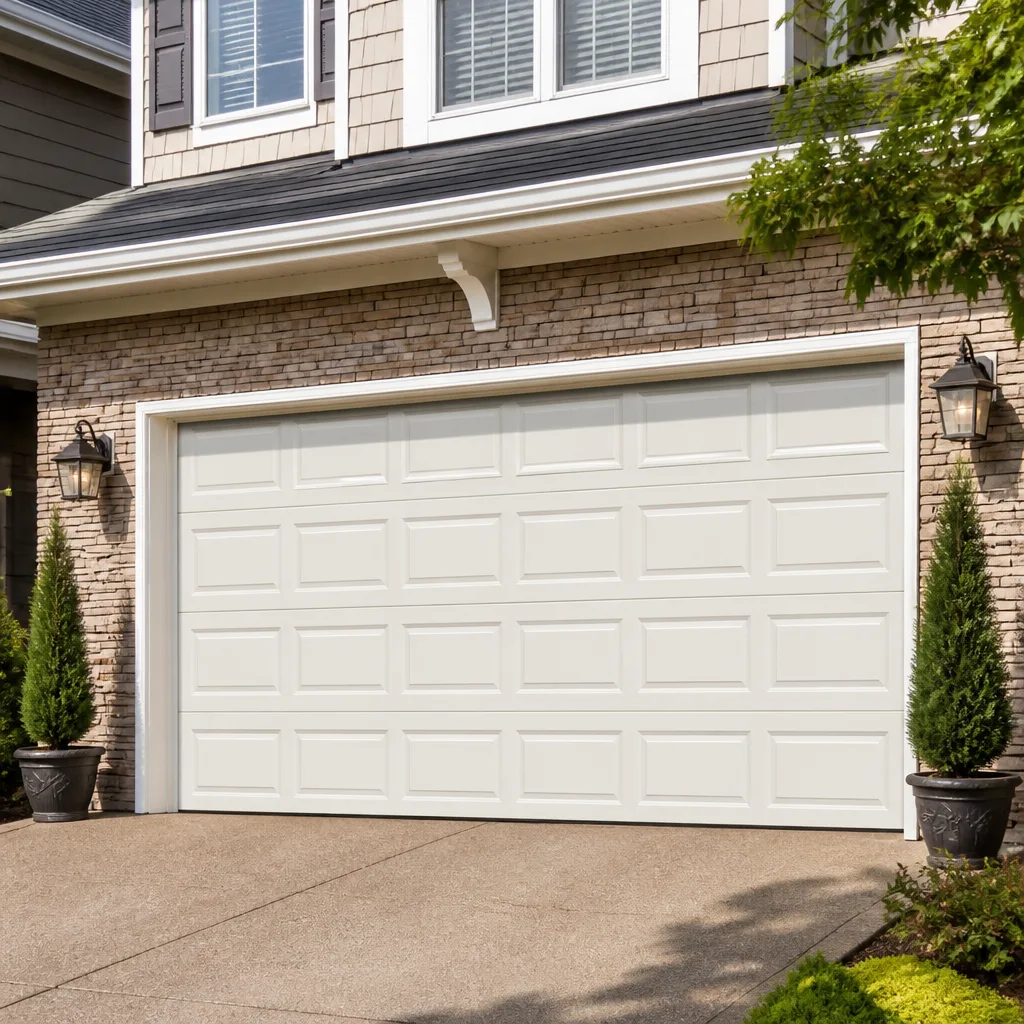 Raised-panel steel
 Carriage house
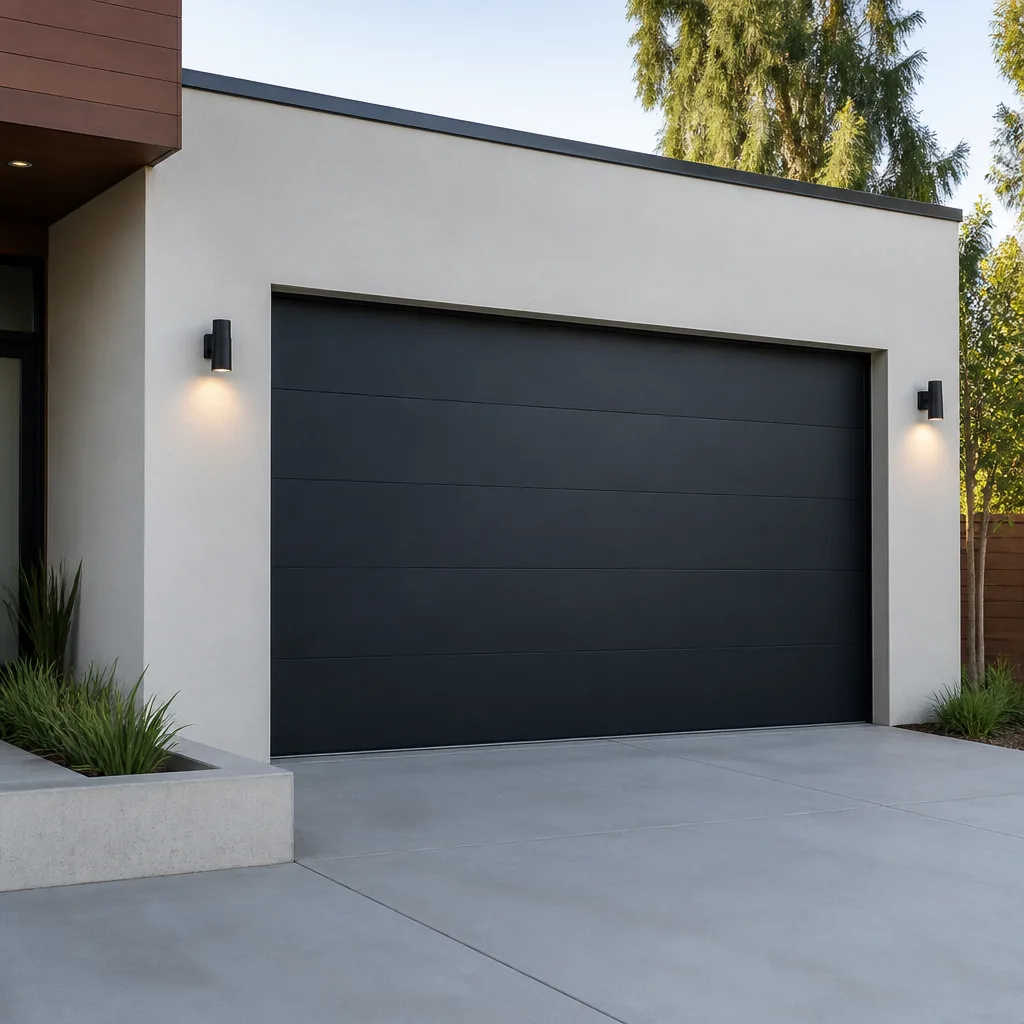 Modern flush
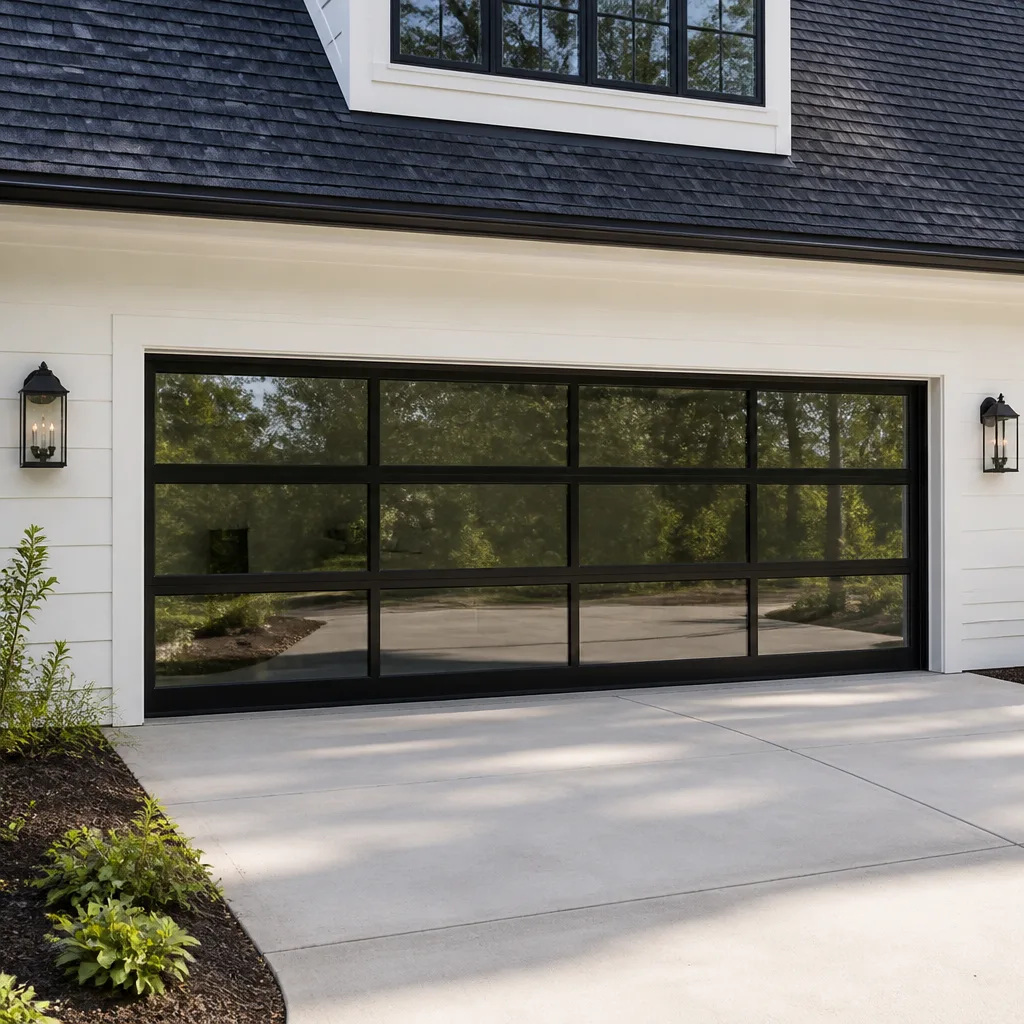 Full-view glass
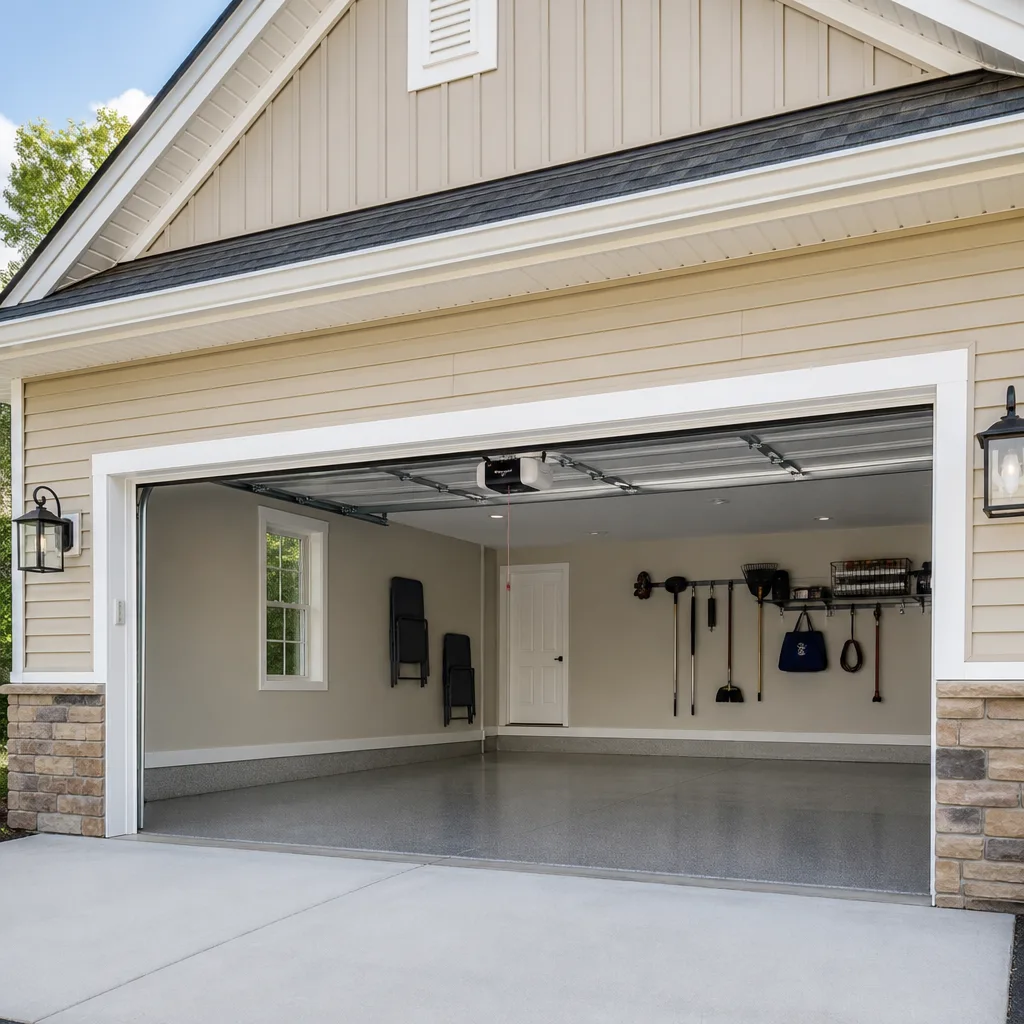 LiftMaster openers
 Chamberlain openers
Full 25-point door and opener safety check with every visit - springs, cables, rollers, tracks, and your LiftMaster or Chamberlain opener included
You get a price before we start. It does not change when the truck arrives.
Get your free estimateGarage Door Repair Maintenance Checklist for Kissimmee Homeowners
Here’s a number that should get your attention: the average garage door spring is rated for roughly 10,000 cycles, and in Central Florida, a door that opens and closes four times a day burns through that rating in under seven years. That’s not a manufacturing flaw. It’s math. But the real problem in Kissimmee isn’t cycle count alone – it’s that the national maintenance advice most homeowners find online was written for Ohio basements and California coastal garages, not for 95-degree afternoons in July with 80% humidity and afternoon thunderstorms rolling through like clockwork. This guide is different. It’s a month-by-month, season-by-season maintenance checklist built specifically for how garage doors actually behave in Kissimmee, and it covers the specific failure points we see repeat across neighborhoods from Bellalago to North Pointe.
Styles & brands we work with
Quick Answer
The most important garage door maintenance tasks for Kissimmee homeowners are: lubricating moving parts with a silicone-based or lithium-based lubricant every 3 months (Florida heat breaks down petroleum products faster), inspecting torsion springs for rust every 60 days during wet season, testing opener force settings twice a year (humidity causes drift), and replacing weatherstripping every 12 – 18 months (UV degradation, not cold, is the primary killer here). Short version: inspect quarterly, and never skip the May pre-storm-season check.
Table of Contents
- Month-by-Month Maintenance Schedule for Kissimmee
- Which Lubricants Actually Survive Florida Heat
- Spotting Spring Corrosion Before It Snaps
- Weatherstripping: Florida’s Fastest-Wearing Door Component
- Opener Force and Sensitivity Settings in High Humidity
- Rollers, Hinges, and Track Alignment
- Cables and Drums: The Part Nobody Checks Until It Pops
- The Door Balance Test (And Why It Matters)
- Common Mistakes to Avoid
- When to Call a Professional
- Frequently Asked Questions
- The Bottom Line
Month-by-Month Maintenance Schedule for Kissimmee
Kissimmee doesn’t have four seasons in the traditional sense. It has a wet season and a dry season, and your garage door responds to each one in specific, predictable ways. The wet season (roughly May through October) is when corrosion accelerates, seals swell, and electrical components get stressed by humidity. The dry season (November through April) is when metal contracts, bolts loosen from temperature swings between warm afternoons and cool nights, and the UV damage from the summer finally shows itself as cracked seals and faded, brittle parts. Here’s a maintenance calendar built around that reality rather than around a generic “inspect every spring and fall” rule.
January – February (Cool, Dry Season)
- Full door balance test. Disconnect the opener and lift the door manually. It should stay in place halfway up. Cooler temperatures make springs slightly stiffer, which is actually the best time to catch a spring that’s losing tension – the failure is more obvious.
- Check all bolts and brackets. The temperature swings between Kissimmee’s 40-degree January nights and 75-degree afternoons cause metal hardware to expand and contract. This loosens fasteners faster than most homeowners expect.
- Clean and inspect photoelectric sensors. Dust from dry-season air settles on sensor lenses. A quick wipe with a dry cloth prevents the “door won’t close” calls we get most often in February.
March – April (Transition, Dry to Wet)
- Lubricate all moving parts. Do this before the first big humidity spike. Use a silicone-based lubricant (more on that below). This is the single highest-ROI maintenance task you can do in Kissimmee.
- Check weatherstripping at the bottom of the door. After a full winter of UV exposure, this is when cracks start to appear. If you can see daylight under the door’s bottom seal, plan to replace it in the next 30 days before afternoon storms start.
- Test the opener’s auto-reverse mechanism. Place a 2×4 flat on the ground under the door’s path. The door should reverse within two seconds of hitting it. If it doesn’t, adjust the opener’s down-force setting immediately.
May – June (Peak Storm Season Begins)
- Inspect torsion springs for rust in detail. Walk into the garage with a flashlight and look at the springs above the door. Any orange-brown discoloration, any flaking, any rough texture – this is the early-warning stage. We’ll cover exactly what to look for below.
- Test opener force settings. The first half of May is when Kissimmee humidity really locks in. Reprogram your opener’s force limits following the manufacturer’s procedure for LiftMaster, Chamberlain, or Genie models. These settings drift and need correction.
- Develop a storm prep routine. Kissimmee’s afternoon storms can bring wind gusts strong enough to shake a poorly balanced door. Walk the track with a level or check the door’s evenness. An unlevel door in May becomes a stuck door in July.
July – September (Deep Wet Season)
- Re-lubricate rollers and hinges every 60 days. During these months, humidity is at its worst and heat index is at its highest. Lubricant degrades faster, so intervals must shrink. This is the single most important Kissimmee-specific adjustment you’ll make.
- Monthly spring inspection. Under high heat plus high humidity, torsion springs can develop surface rust in as few as four weeks. We see this consistently from Poinciana to Celebration especially in west-facing garages that get afternoon sun.
- Check opener drive mechanism for heat wear. Belt and chain drives expand slightly in sustained heat. If the opener sounds different in August than it did in February, something is slightly out of spec. Note it and call a garage door opener repair specialist before it becomes a failure.
October – December (Transition Back to Dry)
- Full inspection and seasonal tightening. After the wet season’s expansion and contraction cycles, almost every bracket on the door has loosened slightly. Tighten everything.
- Lubricate one more time before the cool front. This sets the door up for dry season. Two heavy lubrication passes per year (spring and fall) plus the mid-summer re-application is the rhythm for Kissimmee.
- Check opener chain or belt tension. The seasonal temperature shift causes measurable change in drive tension. A loose chain is noisy and stretches; a belt that’s too tight wears the sprocket. Correct it now.
Which Lubricants Actually Survive Florida Heat
This is where generic advice fails Kissimmee homeowners. The most commonly recommended garage door lubricant in national guides is WD-40. That’s solvent, not lubricant, and in Florida heat it evaporates within days. The second most common recommendation is white lithium grease in a spray can. That works, but in high-humidity environments, it can attract dust and grit, forming a paste that accelerates wear on rollers and hinges. For Kissimmee specifically, the correct choice is a dry silicone spray or a lithium-based garage door lubricant specifically formulated for metal-to-metal contact points. Silicone stays viscous at high temperatures, doesn’t attract moisture, and resists breakdown from UV exposure. We’ve worked on doors across every major brand – Clopay, Amarr, Wayne Dalton, Raynor, all of them – and the doors that last in this climate are the ones where the owner used the right product on the right schedule.
What to Lubricate (And What to Leave Alone)
- Hinges: The pivot points where the hinge plates meet. Two to three drops or a one-second spray on each pivot point.
- Rollers: Applicable to steel or nylon rollers with ball bearings. Spray the bearing area, not the roller face. Nylon rollers with sealed bearings do not need lubrication; check the manufacturer’s spec.
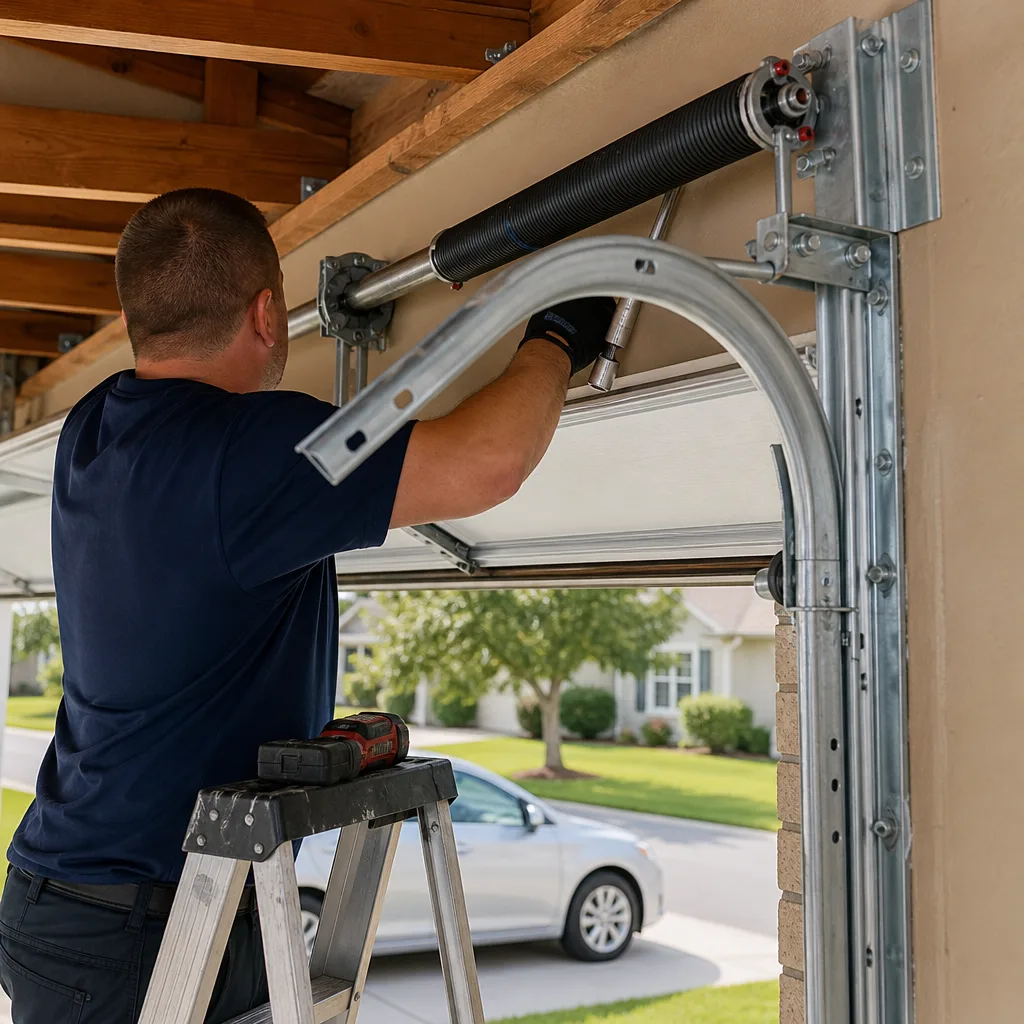
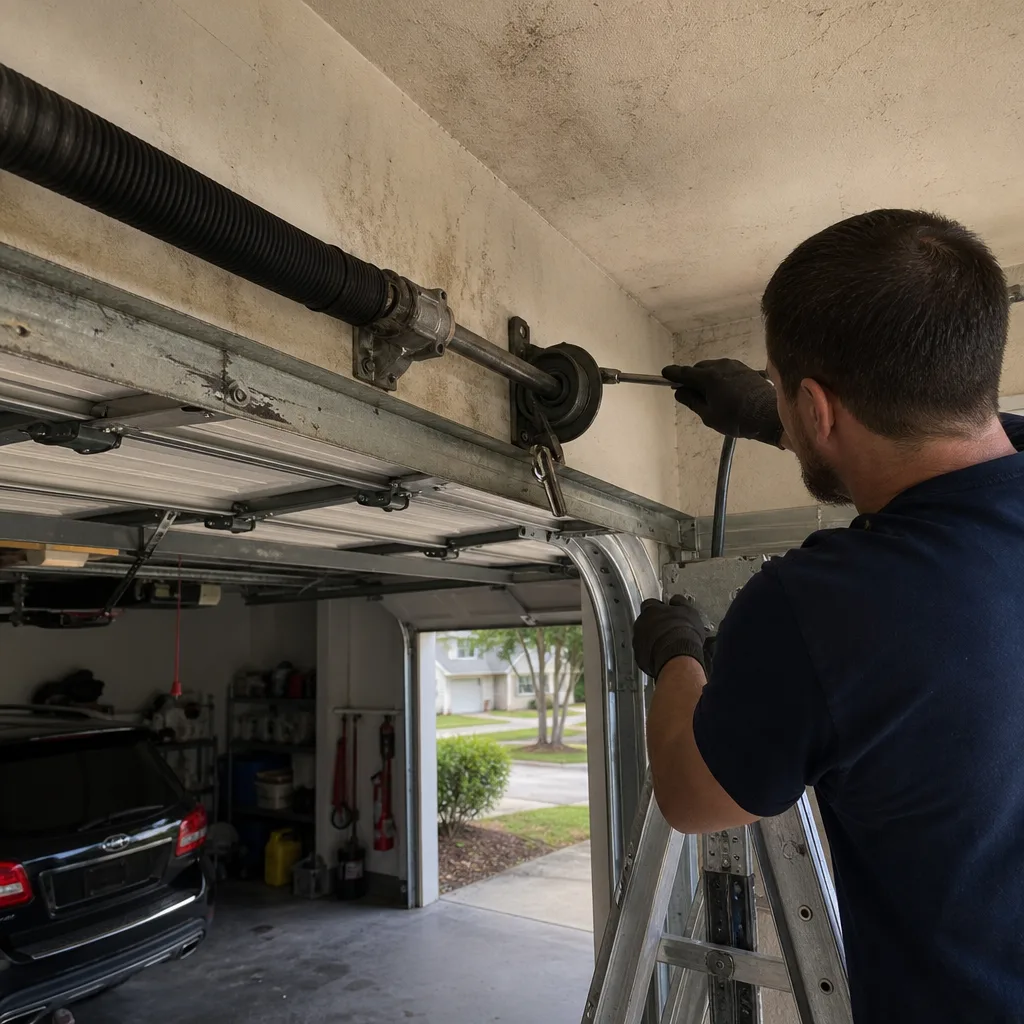
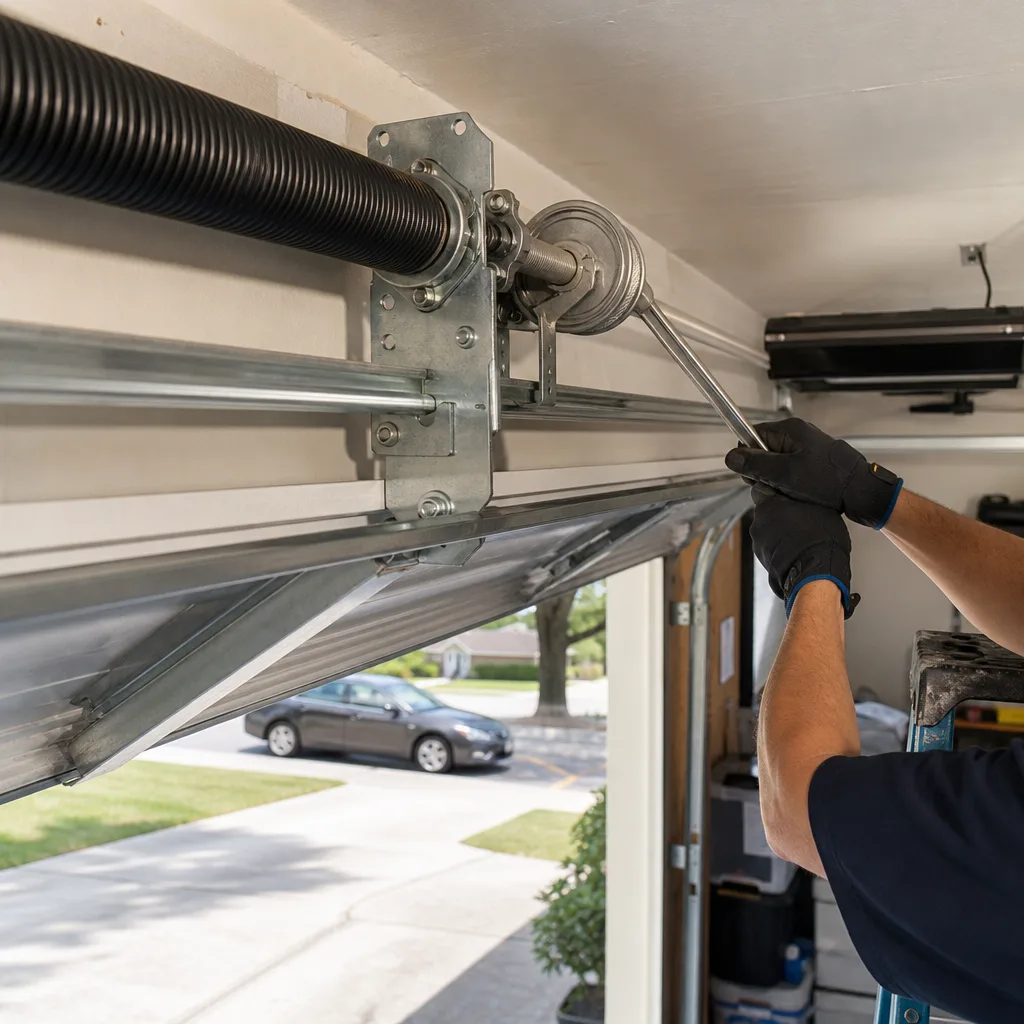
- Torsion spring: Full length, top and bottom. One even coat along the entire coil.
- Bearing plates: The end bearing plates at the torsion bar ends. A small amount on each.
- Lock mechanism: If your door has a manual lock, a dry graphite lubricant works better than silicone here because it doesn’t gum up.
Do not lubricate: the track itself. The rollers should ride on dry, clean track. Lubricating the track creates a film that attracts dust and causes the rollers to slip, not roll. If the door is noisy on the track, the problem is roller wear or alignment, not lack of lubricant.
In Kissimmee’s climate, the fail point with lubricants isn’t the initial application – it’s the interval. A door that’s lubricated every six months in Ohio can go that long because the product isn’t stressed. Here, two applications per year (spring and late fall) is the baseline, and during the wet season we add one more pass, usually in late July or early August. If your garage door squeaks in Kissimmee, it’s not being dramatic. That’s the door telling you the lubricant is shot and metal is wearing against metal.
Spotting Spring Corrosion Before It Snaps
Torsion spring failure is the number one Garage Door Repair emergency call we get in Kissimmee, and in roughly half of those breakdowns the homeowner saw the warning signs but didn’t know what they meant. The good news: spring corrosion follows a visual progression, and if you check every 60 days during the wet season, you’ll catch it long before the spring becomes a projectile hazard.
The Corrosion Timeline
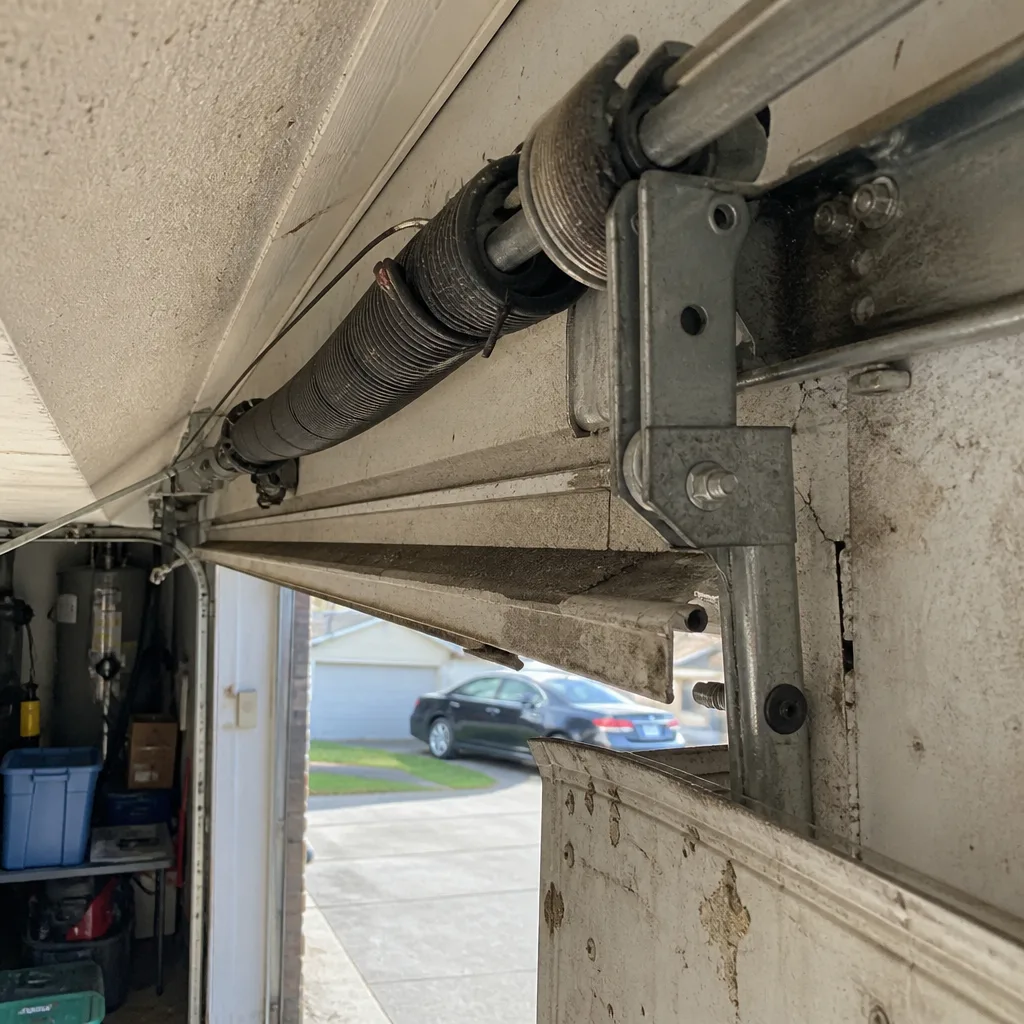
- Stage 1 – Light orange dusting. The spring’s surface shows a faint orange tint, usually concentrated in patches. This is surface oxidation starting. It’s a warning, not a workable problem. Clean the spring with a dry cloth and apply a silicone lubricant to slow progression.
- Stage 2 – Visible rust spots with texture. The surface now feels rough when wiped. Orange-brown spots are set in. The spring is still functional, but the oxidation is eating into the metal’s surface. Continue to monitor monthly.
- Stage 3 – Flaking and pitting. Small flakes come off when touched. The spring’s structural integrity is now compromised. This spring can still carry load, but it’s on borrowed time. A replacement should be scheduled – not as an emergency, but as a planned maintenance item.
- Stage 4 – Deep pitting and visible cracks. The surface shows cratered pitting or hairline fractures. At this point the spring is a safety risk. It should be replaced before it snaps.
Here’s the Kissimmee-specific part: the progression from Stage 1 to Stage 4 happens two to three times faster in Osceola County than in a temperate climate. That’s because the cycle of heat and humidity creates a micro-environment on the spring’s surface where oxidation never really stops. It slows during the dry season and accelerates during the wet season, but it never pauses. A spring that shows Stage 2 corrosion in February can reach Stage 4 by August. If you see any rust at all, set a calendar reminder for a follow-up check in 30 days.
Important safety note: torsion springs are under extreme tension – enough to cause serious injury or death if mishandled. Do not attempt to clean, lubricate, or otherwise work on a spring that shows Stage 3 or Stage 4 corrosion. Do not touch a spring that’s already snapped. Contact a trained professional for replacement. The inspection itself is safe; the repair is not a DIY job.
Weatherstripping: Florida’s Fastest-Wearing Door Component
In colder climates, weatherstripping fails from freeze-thaw cycling. In Kissimmee, it fails from UV degradation and heat embrittlement, and the timeline is shorter than national guides suggest. A bottom seal that lasts three to five years in Michigan will often need replacement in 18 to 24 months here. Here’s what to look for and when to replace it.
Signs Your Weatherstripping Needs Replacement
- Visible cracks or splits: Run your hand along the bottom seal. Any crack that’s visible to the naked eye is already allowing air, water, and insects through.
- Flattened or squashed profile: Over time, the rubber loses its shape and takes a permanent set. A seal that no longer bounces back when pressed needs replacing.
- Daylight under the door: Close the door and look from inside the garage at the floor line. If you can see light, you can see the gap that’s letting water in.
- Evidence of moisture or pest intrusion: Damp spots on the garage floor near the door, ant trails, or roach activity near the threshold – all point to a seal that’s failed.
The threshold is one of the first things we inspect on a Garage Door Repair in Taft call that involves water intrusion, and the pattern is consistent: homeowners notice the problem in July, but the seal was compromised in April. By the time afternoon storms are dumping an inch of rain, the seal needed to be gone two months prior. The fix is straightforward, but the timing matters. Check the seal at the beginning of every wet season and again mid-summer.
Opener Force and Sensitivity Settings in High Humidity
Garage door openers are engineered to detect resistance and adjust motor output accordingly. The problem in Central Florida is that sustained high humidity causes wear on the opener’s internal potentiometers and tactile switches – the little electronic components that calibrate force. Over time, the opener’s “sense” of how much force to apply drifts. The result is either a door that reverses when it shouldn’t, or a door that keeps pushing against an obstruction when the auto-reverse should have triggered. Both are safety failures, and both happen more frequently in humid climates.
How to Test Your Opener’s Force Settings
- Test the down force. Lay a 2×4 flat on the garage floor directly in the door’s path. Close the door using the opener. The door should hit the board and reverse within two seconds. If it keeps pushing, down-force is too high.
- Test the up force. With the door fully closed, press the opener. The door should rise smoothly and stop at the fully open position without hesitation. If it strains or stalls, up-force is too low.
- Test the sensitivity. With the door rising, place a gloved hand on the bottom edge of the door and apply light downward pressure. The opener should stop and reverse. If it fights you, the sensitivity is set too high.
These tests take five minutes and should be done twice a year in Kissimmee – once in late April before the wet season and once in late October before the dry season. Opener force settings are manufacturer-specific, and the adjustment method for a LiftMaster unit differs from a Chamberlain or Craftsman model. If you don’t have the manual or aren’t sure where the adjustment dials are, a professional opener technician can recalibrate the unit in about 20 minutes. Opener repair is a named specialty at Kissimmee Garage Door Service home, and we carry the adjustment tools and diagnostic equipment specific to each brand rather than working around them.
Rollers, Hinges, and Track Alignment
Rollers are the component most homeowners never think about until one fails, and in Kissimmee, two failure modes dominate: bearing seizure from humidity-induced corrosion, and nylon wheel fragmentation from prolonged UV exposure. When a roller fails, the door starts riding unevenly, which throws off track alignment and puts strain on every other component. Here’s the inspection sequence we follow on every Kissimmee service call:
Roller Inspection
- Look for wobble. With the door down, manually wiggle each roller stem. A small amount of play is normal; noticeable side-to-side movement means the bearing is worn.
- Check for flat spots. Nylon rollers can develop flat spots from heat exposure. Roll each roller by hand and feel for any point where it doesn’t turn smoothly.
- Listen for grinding. A roller with a bad bearing produces a distinctive rattling or grinding sound as the door moves. If you hear it, plan to replace the roller before the bearing seizes entirely.
Hinge Inspection
Hinges are steel, and in Florida’s humid environment they will eventually develop surface rust. A little rust on the flat surfaces is cosmetic. Rust on the hinge pin or pivot point is functional and accelerates wear. During your quarterly inspection, look for any hinge that’s stiff or difficult to move. Stiff hinges put additional load on the opener because the door no longer flexes properly as it moves through the track radius.
Track Alignment
The track doesn’t need to be lubricated, but it does need to be straight. Use a level on the vertical tracks once per season. Both sides should read identical. If the door sounds like it’s dragging on one side, the likely cause is a slightly misaligned track rather than a lubrication problem. Minor track misalignment can sometimes be corrected by loosening and re-tightening the mounting brackets; anything beyond that requires professional adjustment.
Cables and Drums: The Part Nobody Checks Until It Pops
Garage door cables are under constant tension, and in Kissimmee’s humidity, the point where the cable meets the drum is the most vulnerable. Moisture wicks into the cable strands at the drum, causing internal rust that’s invisible from the outside. A cable that looks fine from five feet away can be one cycle away from snapping when viewed up close. Here’s how to inspect cables safely and what to look for in this climate.
Safe Cable Inspection Steps
- Disconnect the opener. Pull the red emergency release cord so the door operates manually. This removes motor tension from the system.
- Raise the door to a comfortable eye level. Do not raise it fully – halfway is enough to see both cable drums.
- Inspect the drum seat. Where the cable wraps around the drum at the top of the door, look for frayed strands, rust discoloration, or any evidence that the cable is no longer winding tightly.
- Trace the cable down. Follow it from the drum to the bottom bracket. Look for any rust, any kinks, any places where individual strands are broken out of the bundle.
A cable with frayed strands needs professional replacement. This is not a repair anyone should attempt without training – the tension on these cables is enough to sever fingers. If you find frays or rust on your cables, call a licensed technician. The parts are inexpensive; the labor is what you’re paying for, and it’s worth every dollar.
The Door Balance Test (And Why It Matters)
A properly balanced garage door should stay in place when opened halfway. This balance test is the single most diagnostic maintenance procedure there is, because a door that’s out of balance is a door that’s wearing out its opener at double or triple the normal rate. The springs aren’t just for lifting; they counterbalance the door’s weight so the opener motor doesn’t have to do the work. A door that’s lost spring tension puts the full weight of the door on the opener, and in Kissimmee’s climate, that’s a recipe for premature opener failure.
How to Perform the Door Balance Test
- Close the door completely.
- Pull the red emergency release cord to disconnect the door from the opener carriage.
- Manually lift the door to roughly waist height (about three feet off the ground).
- Release it gently. The door should hold its position. It should not rise, and it should not fall.
- Test additional positions. Raise the door to shoulder height and release again. The door should hold at both positions.
If the door falls when released, the springs have lost tension and are not counterbalancing properly. If the door rises on its own, the springs are over-tensioned. Both conditions require correction. Continuing to operate a door with compromised spring tension will destroy the opener gears, burn out the motor, and eventually snap the spring cables. And remember: springs don’t gradually lose tension forever. They reach a fatigue point and fail without warning. A door that fails the balance test is a door on borrowed time. Reconnect the opener afterward and run a normal Open/Close cycle to verify everything operates properly.
For homeowners in the Taft area specifically, we see balance issues emerge slightly earlier than in other Kissimmee neighborhoods because many of these homes were built during the same 2005 – 2008 construction wave, meaning the original springs are all reaching end-of-life around the same time. If you’re due for a balance check and want a second set of eyes, Garage Door Installation in Taft also covers spring replacement and balance correction as part of the full-service call.
Common Mistakes to Avoid
- Using WD-40 as a lubricant. WD-40 is a water displacer, not a lubricant. It dries out moving parts and attracts dust. In Kissimmee’s heat, it evaporates within a week. Use silicone or lithium-based garage door lubricant instead.
- Lubricating the track. The rollers ride on dry track by design. Lubricating the track creates a film that collects grit and causes roller slippage. If the door is noisy, the problem is elsewhere.
- Following national maintenance intervals. The “inspect once a year” recommendation fails in Florida. The heat, humidity, and UV combine to double the wear rate. Inspect at least quarterly, and check springs every 60 days during wet season.
- Ignoring a noisy door. A garage door that squeaks, grinds, or binds is communicating something specific. Waiting until it stops moving costs three to five times more than addressing the sound early. Noise is the first symptom in almost every failure sequence we see in Kissimmee.
- Attempting DIY spring repair. Torsion springs and cables are under lethal tension. Every year, homeowners are seriously injured attempting to “save money” on spring replacement. This repair is not negotiable – call a professional.
- Skipping the mid-summer check because “nothing’s wrong.” The most expensive garage door failures in Kissimmee happen in September and October, after a full summer of heat stress. A ten-minute inspection in July prevents the breakdown that comes in October.
- Replacing a door opener without checking door balance. If you install a new opener on a door with failing springs, the new opener is doomed from day one. Balance first, then opener.
When to Call a Professional
Most of the inspection and lubrication tasks in this guide are safe for any homeowner to perform. But there are lines that shouldn’t be crossed. Any work on torsion springs, extension springs, or cables is professional territory – the tension involved is enough to cause serious injury. If your door fails the balance test, call a professional rather than continuing to use the door. If you see Stage 3 or Stage 4 corrosion on your springs, stop using the door and call. If your opener’s auto-reverse fails after adjustment, the problem is likely in the electronic force-sensing module, which requires diagnostic equipment to repair. And if you’ve never had a professional inspection and the door is more than eight years old, schedule one – the cost of an inspection is a fraction of the cost of an emergency spring replacement at midnight. Kissimmee Garage Door Service offers free estimates in Kissimmee – call (844) 662-1429 to book an inspection or any other service.
Frequently Asked Questions
Lubricate your garage door every 3 months in Kissimmee. During the wet season (May through October), add one extra application in late July or early August because sustained heat and humidity degrade lubricants faster than in temperate climates. Call (844) 662-1429 if you’re unsure which lubricant to use for your specific door.
Silicone-based or lithium-based garage door lubricant is best for Florida’s heat. These products stay viscous at high temperatures and don’t attract moisture like petroleum-based sprays. Avoid WD-40 – it’s a solvent that evaporates quickly in hot, humid conditions and provides no lasting lubrication.
Your springs are likely failing if the door won’t stay in place when opened halfway, if you see rust flaking or pitting on the spring coils, or if the door feels noticeably heavier when operated manually. Any of these signs means a professional replacement should be scheduled before the spring snaps. Call (844) 662-1429 for a free spring assessment.
Your opener is likely reversing because the force and sensitivity settings have drifted out of calibration due to high humidity affecting the opener’s internal electronics. This is common in Central Florida and can be fixed by recalibrating the opener’s settings according to manufacturer specifications. If the problem persists after adjustment, the force-sensing module may need replacement.
In Central Florida, standard torsion springs last 5 to 7 years with regular maintenance, compared to 8 to 10 years in cooler, drier climates. The shorter lifespan is caused by the combination of high heat accelerating metal fatigue and high humidity accelerating corrosion. Springs rated for 20,000 cycles or more last longer but still require regular inspection.
Yes, bottom weatherstripping replacement is one of the few garage door repairs that’s safe for DIY installation. The seal slides out of the retainer track on most doors and the replacement slides in. However, the process varies by manufacturer – the seal on a Clopay door differs from a Wayne Dalton or Amarr design. If the seal doesn’t slide out easily or the retainer track is damaged, call (844) 662-1429 for professional installation.
Before storm season, test the door balance, inspect springs for rust, check weatherstripping for cracks, verify the auto-reverse works, and tighten all mounting bolts. These five steps take under 30 minutes and address the most common failure points we see after Central Florida storms. If any piece of the pre-storm check reveals a problem, address it before the storms arrive – emergency breaks during storm season come with longer wait times.
The Bottom Line
A garage door is a mechanical system, not an appliance. It has moving parts that wear, springs that fatigue, seals that break down, and electronic components that drift. In Kissimmee, all of those processes happen faster than the national average because of the climate. The maintenance schedule that works in Ohio doesn’t work here. But the fix is simple: inspect quarterly, lubricate every three months with the right product, check springs every 60 days during wet season, and don’t ignore noise, rust, or a door that fails the balance test. Do that, and you’ll extend the life of every component by years. Skip it, and you’ll join the long list of Kissimmee homeowners who learned what a garage door sounds like when it fails at 8 p.m. on a Friday.
Written by the team at Kissimmee Garage Door Service, serving Kissimmee since 2011. We service the brand you already own – LiftMaster, Chamberlain, Genie, Clopay, Amarr, Wayne Dalton, Craftsman, and Raynor. One call covers it – repair, opener, or new installation. Call (844) 662-1429 for a free estimate.
See the difference
 Before
 After
 Before
 After
 Before
 After