
Last updated October 31, 2026
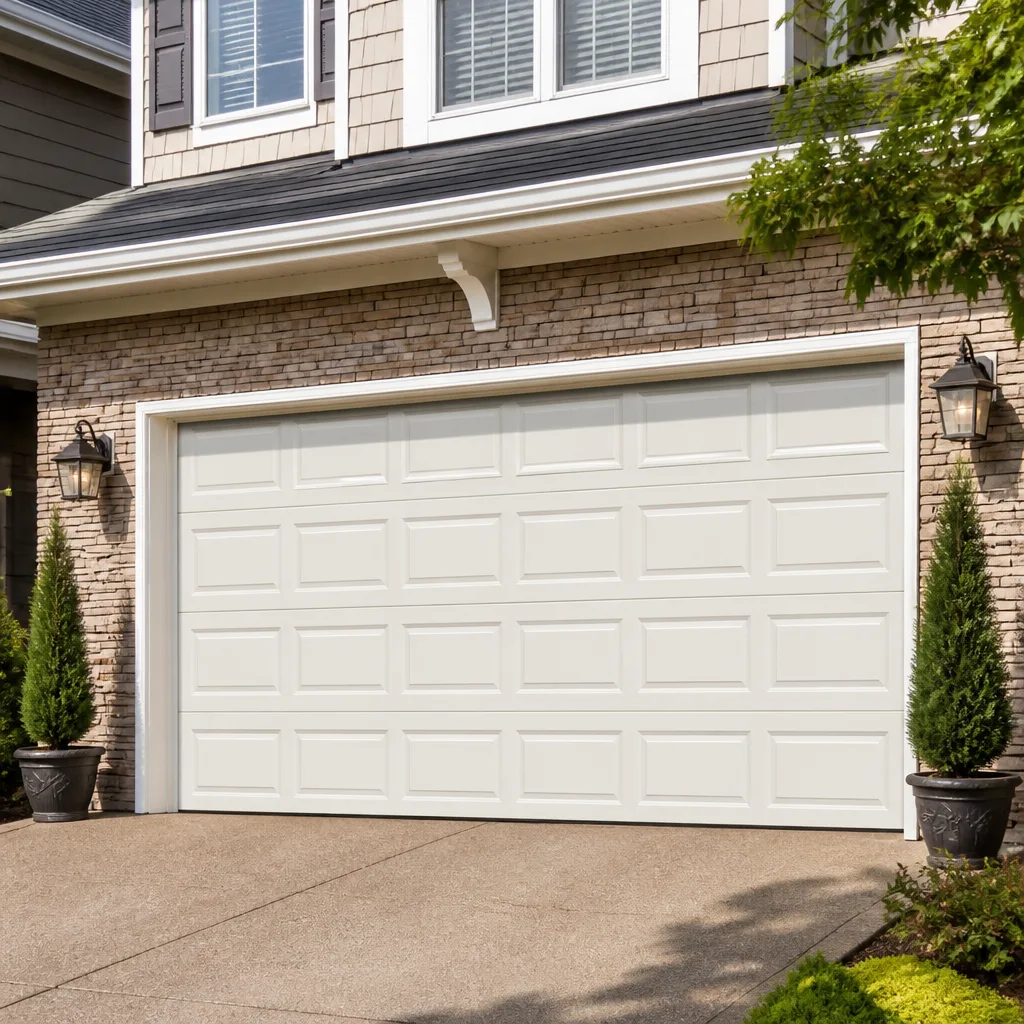 Raised-panel steel
 Carriage house
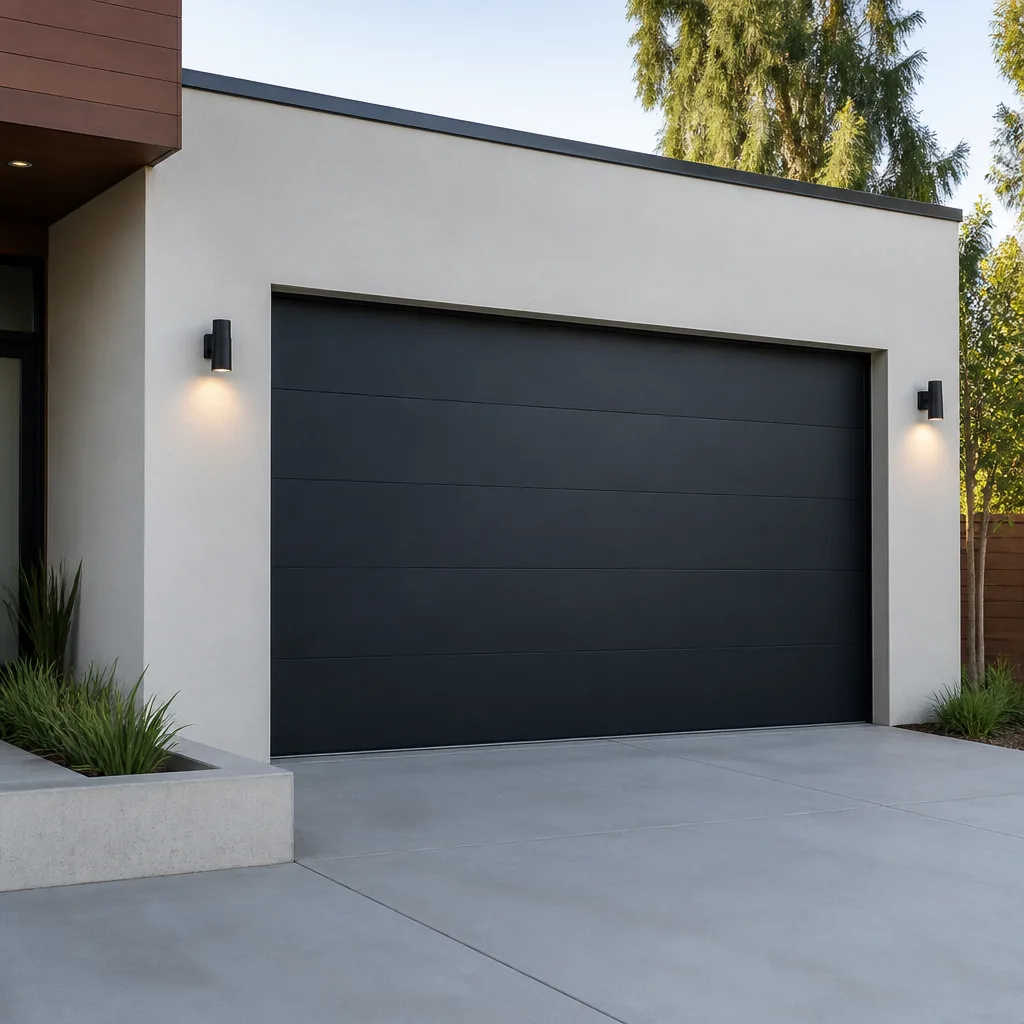 Modern flush
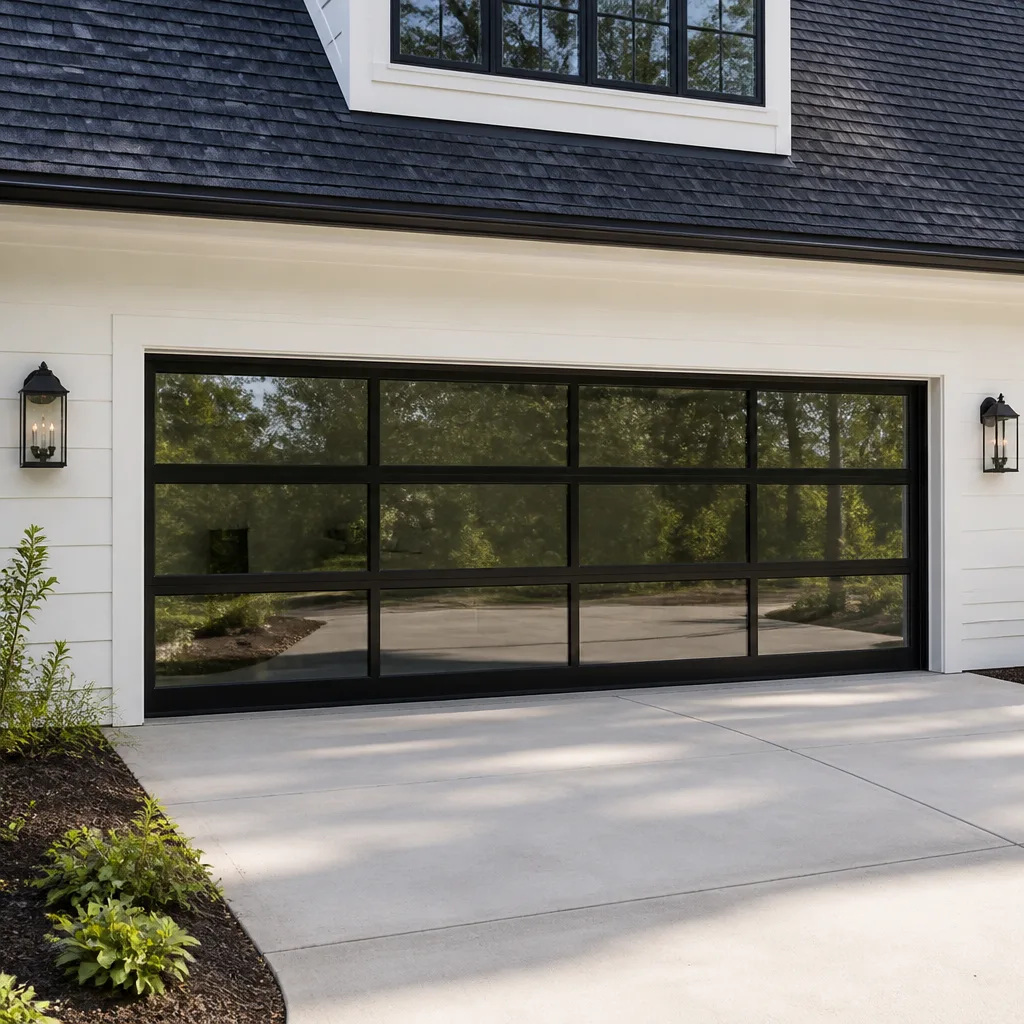 Full-view glass
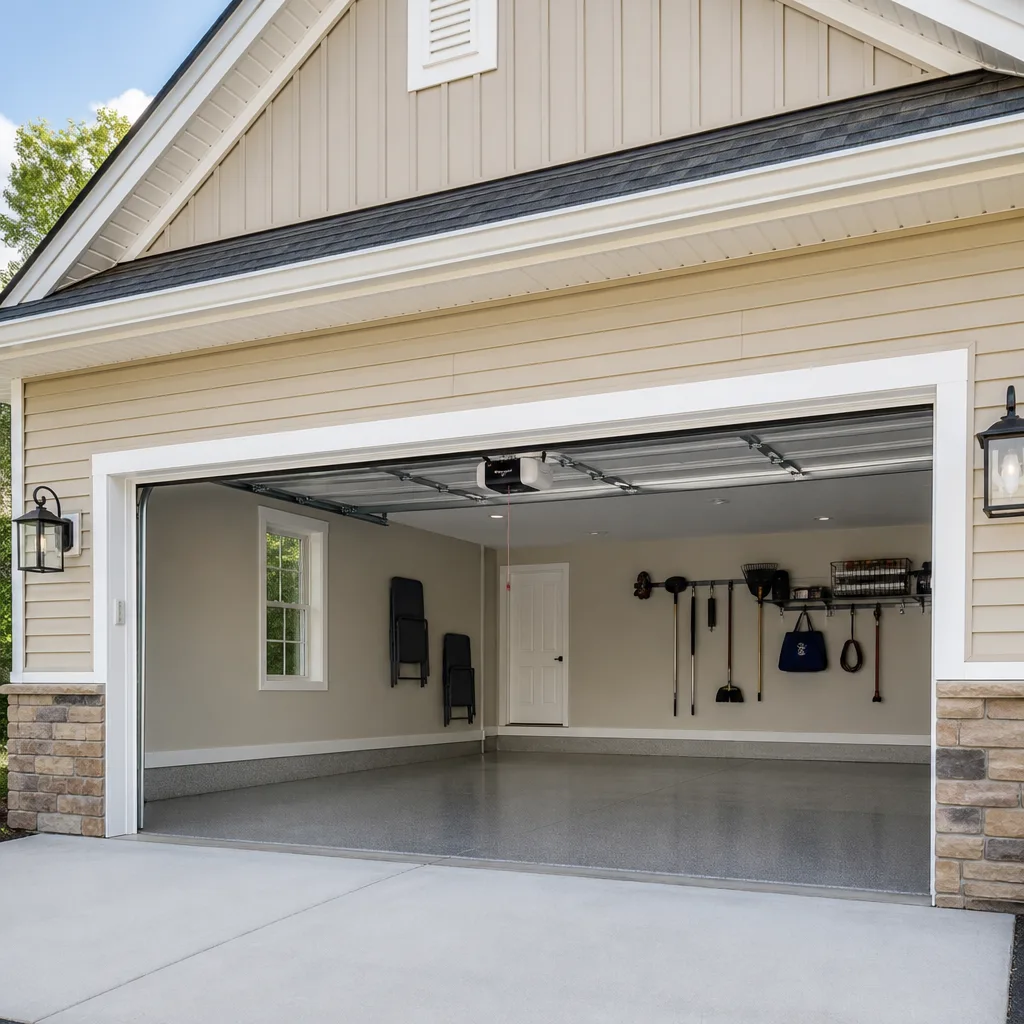 LiftMaster openers
 Chamberlain openers
Full 25-point door and opener safety check with every visit - springs, cables, rollers, tracks, and your LiftMaster or Chamberlain opener included
You get a price before we start. It does not change when the truck arrives.
Get your free estimateGarage Door Repair Troubleshooting: Common Problems and How to Fix Them
Here’s a counterintuitive fact we’ve learned after years of service calls across Kissimmee: most garage door failures don’t happen suddenly. They build up over weeks or months as a single component wears, shifts, or loses tension. By the time the door refuses to move, the root cause has usually been announcing itself for a while. A grinding sound on the way up. A pause at the halfway point. A slight tilt on one side. Homeowners who learn to read these early signals save themselves from emergency breakdowns at the worst possible moments. This guide walks you through the seven symptom patterns we see most often, what each one tells you about the underlying failure, and which fixes you can safely handle versus which ones need our Garage Door Repair services.
Styles & brands we work with
Quick Answer
Garage door repair troubleshooting starts with identifying which of seven symptom patterns your door is showing: it won’t open at all, opens partway then stops, reverses before closing, reverses after touching the floor, makes grinding or squealing noises, sits unevenly, or operates slowly. Each pattern points to a different root cause from broken springs and worn rollers to misaligned photo eyes and failing opener gears. Matching the symptom to the system is 80 percent of the diagnosis, and from there you’ll know whether it’s a safe DIY adjustment or a job for a specialist who carries the right parts. For How to Hire a Garage Door Contractor in Kissimmee: A Step-by-Step Guide, see our resource on vetting qualified technicians.
Table of Contents
- Reading the Symptoms: The Seven Patterns That Matter
- Pattern One: The Door Won’t Open at All
- Pattern Two: The Door Opens Partway, Then Stops
- Pattern Three: The Door Reverses Before Hitting the Floor
- Pattern Four: The Door Reverses Immediately After Touching the Floor
- Pattern Five: Grinding, Squealing, or Rattling Noises
- LiftMaster, Chamberlain, and Genie Diagnostic Blink Codes
- What to Have Ready When You Call
- Common Mistakes to Avoid
- When to Call a Professional
- Frequently Asked Questions
- The Bottom Line
Reading the Symptoms: The Seven Patterns That Matter
A door that reverses before hitting the floor and a door that reverses immediately after touching it are two completely different mechanical failures. But homeowners describe both the same way on the phone: “the door goes down and then comes back up.” That vague description leads to wrong diagnoses, unnecessary part replacements, and wasted service calls. The fix that’s annoying but cheap, and the fix that’s dangerous and urgent, sometimes wear the same face.
Here’s what we’ve learned doing garage door repair in Taft and across the broader Kissimmee area: the door itself is honest. It tells you exactly what’s wrong if you know which detail to watch. The seven patterns below cover roughly 95 percent of the failures we encounter. Learn to spot which one you’re seeing, and you’ll know more about your door than most homeowners ever will.
Before we get into each pattern, understand this: every garage door system has three mechanical subsystems that can fail. The spring assembly does the heavy lifting, counterbalancing the weight of the door so a small motor can move it. The opener unit supplies the drive force through a belt, chain, or screw. And the track and roller system guides the door along its path. When something goes wrong, your job is to figure out which subsystem is acting up. The symptom patterns make that diagnosis surprisingly quick.
Pattern One: The Door Won’t Open at All
When you press the remote or wall button and nothing happens, no movement, no motor hum, no response, the problem is almost always electrical or in the opener, not mechanical. A balanced door with a working opener should lift even with worn rollers. If there’s zero response at all, start with the simple stuff.
Check these in order:
- Wall button test. Press the wall-mounted button inside the garage. If the door opens from there but not from the remote, the remote’s battery is dead or its programming has been lost. Replace the battery first; that fixes the problem more often than not.
- Power check. Confirm the opener is plugged in. It sounds obvious, but in Kissimmee’s summer storm season, breakers trip without anyone noticing. Check the breaker panel and any GFCI outlet the opener might be plugged into.
- Lock mode. Many LiftMaster and Chamberlain openers have a “lock” feature that disables remote control. If you see a lock icon on the wall panel or in your smart opener app, that’s your answer. Hold the lock button for two seconds to release it.
- Photo eye obstruction. If the door moves an inch or two and then stops, something is blocking the safety sensor beam at the bottom of the track. This triggers the opener’s safety reversal. Clear anything in the beam’s path and make sure the sensors are aligned.
If none of these restore operation and you hear a humming sound from the opener but no movement, the motor is running but not transferring power to the drive system. On chain and belt drive openers, that usually means a stripped drive gear. On screw drive openers, it’s often a worn coupler. Both are repairable on site by a technician who carries opener internals for the model you own.
Pattern Two: The Door Opens Partway, Then Stops
A door that starts upward and then gives up, usually around 12 to 18 inches off the ground, sends a specific signal: the opener is working, but it’s fighting far more resistance than it should. That resistance is normally the torsion spring system failing to do its job.
Here’s how to know for sure whether the springs are the culprit. Pull the emergency release cord, the red rope hanging from the opener rail. This disconnects the door from the opener so you can move it by hand. Try lifting the door manually. A properly balanced door should lift smoothly with a few fingers’ worth of effort and stay in place roughly halfway up when you let go. If the door feels like it weighs a hundred pounds and slams back down when you release it, the springs are broken or severely fatigued.
This is the most important diagnostic test in garage door troubleshooting. It cleanly separates opener problems from spring problems without disassembling anything.
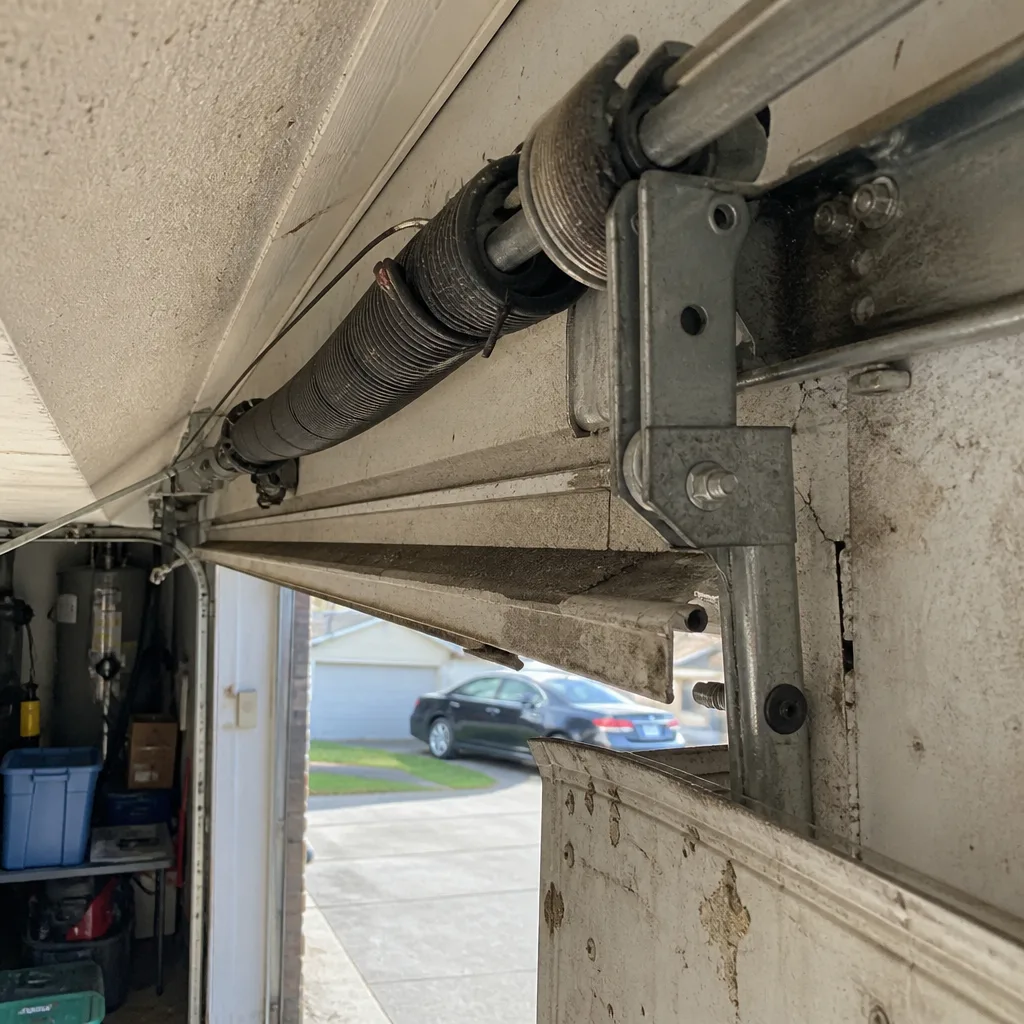
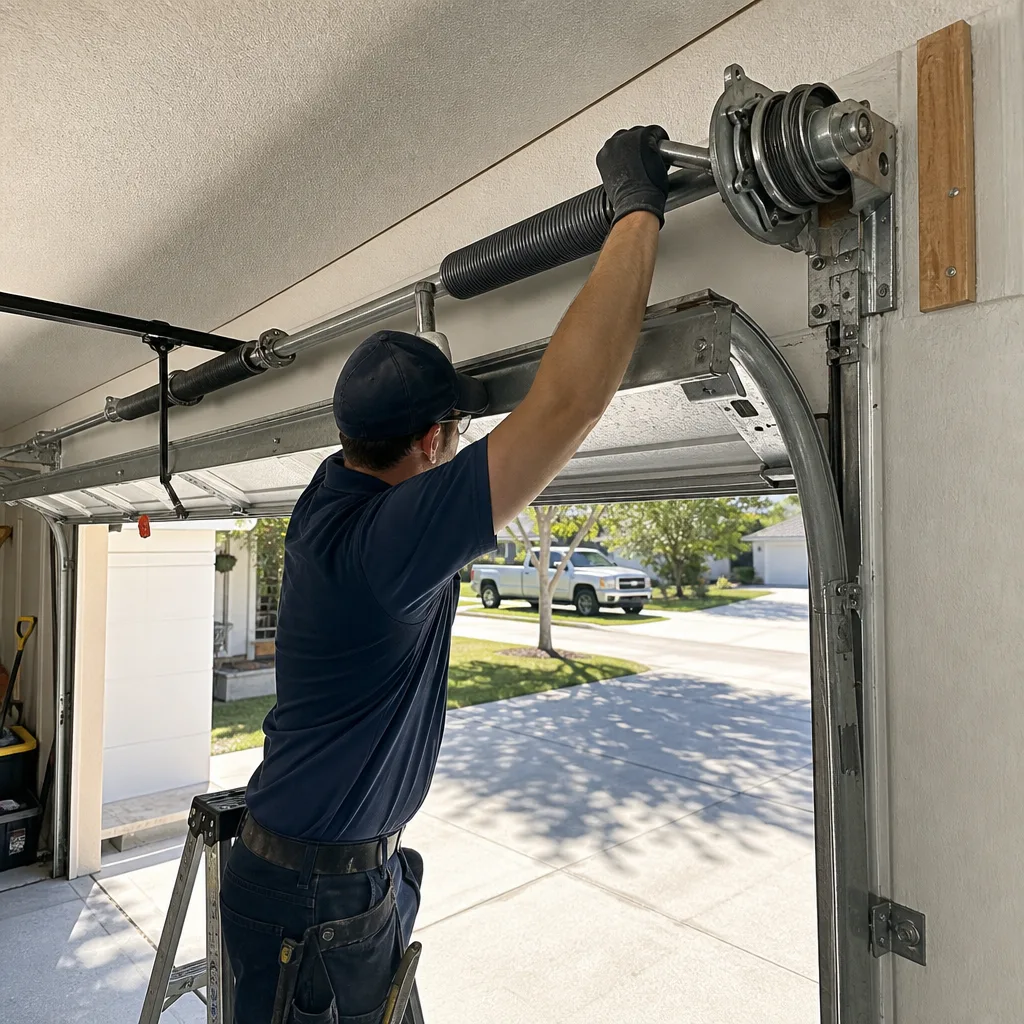
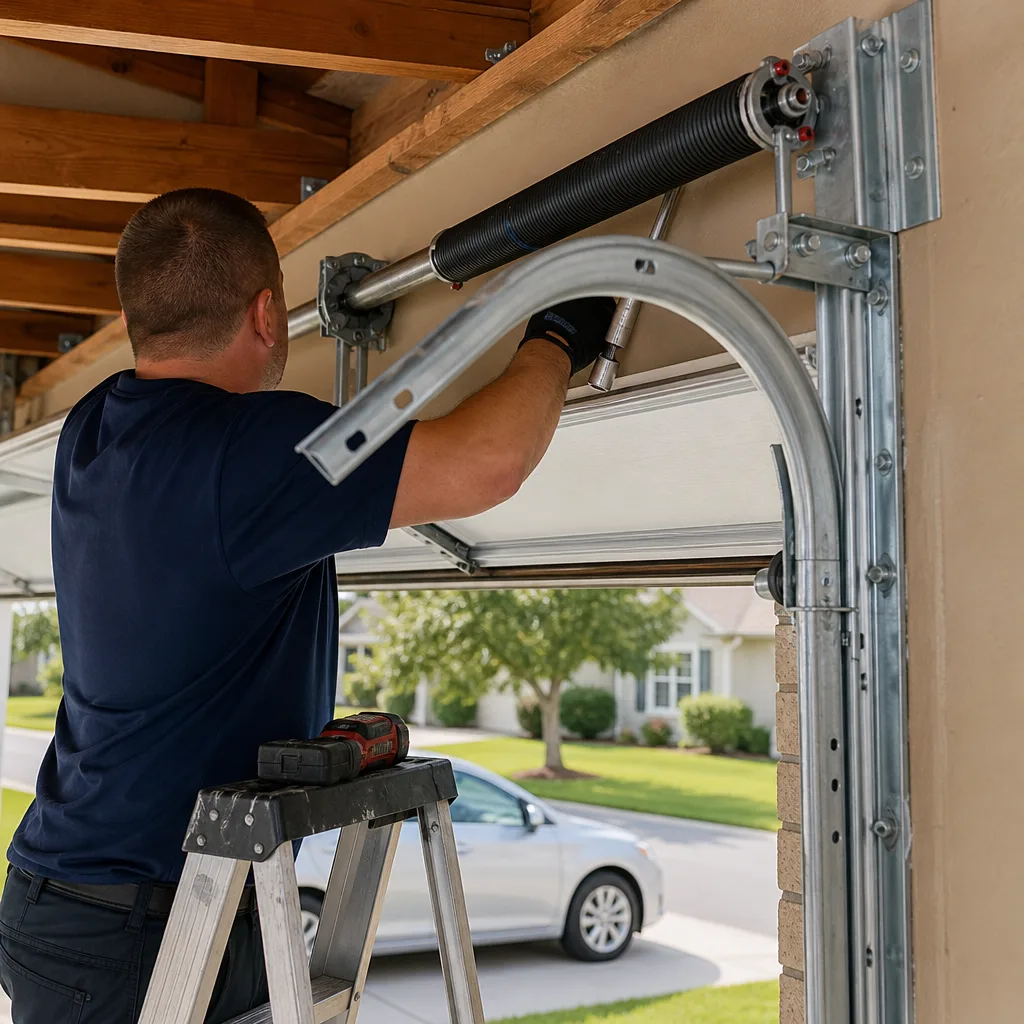
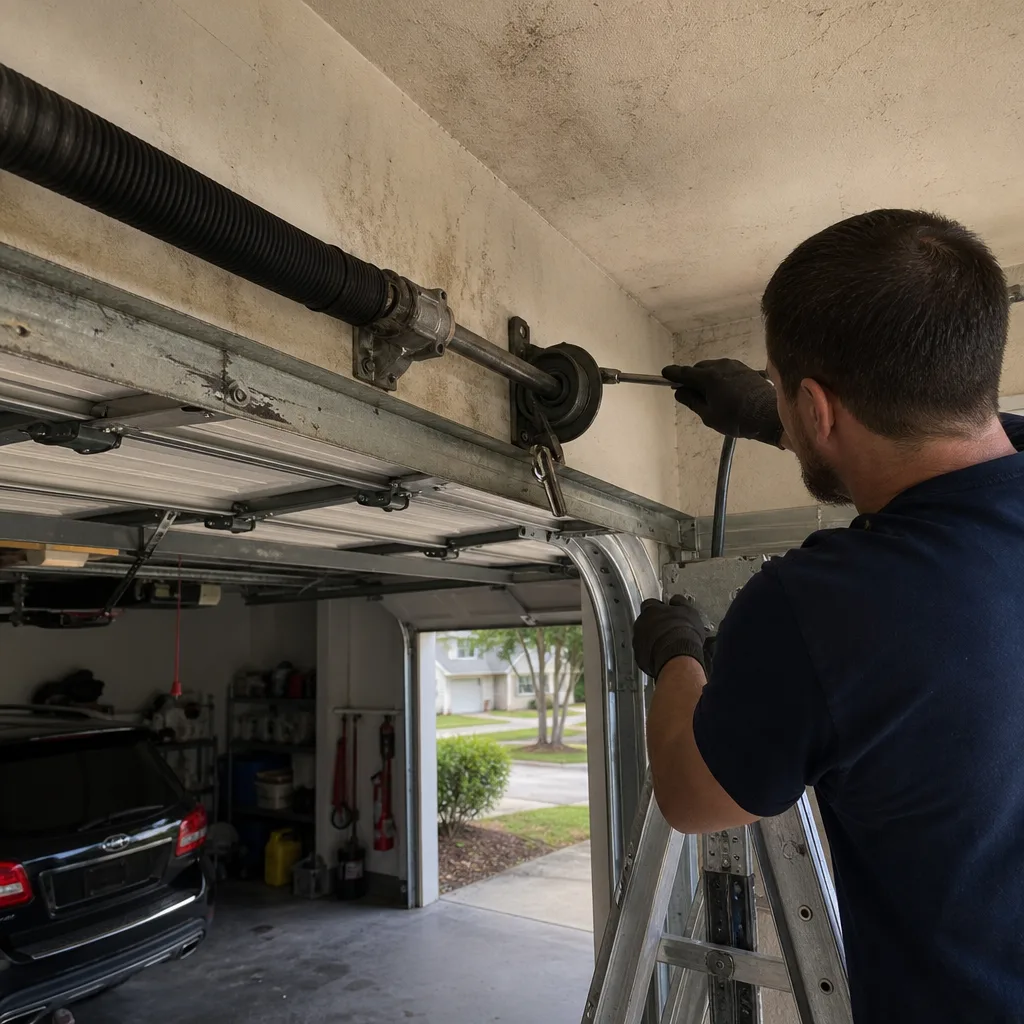
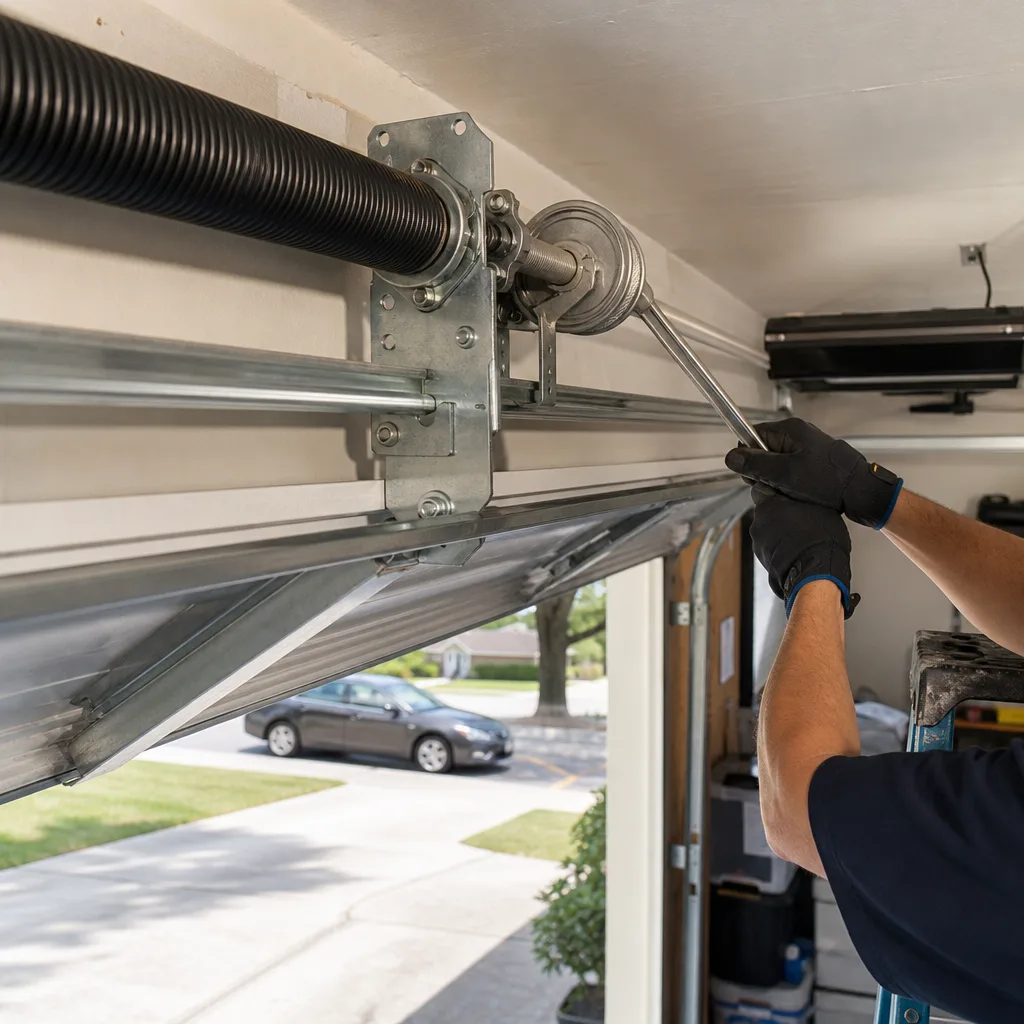
A quick note on spring types. Torsion springs are mounted horizontally above the door opening. Extension springs run vertically along the upper track on each side. Torsion springs typically break with a loud bang that sounds like a gunshot inside the garage. Extension springs rarely announce themselves that way; they just stop lifting properly. Wayne Dalton and Amarr doors in the Kissimmee market use both configurations depending on the model year and install date.
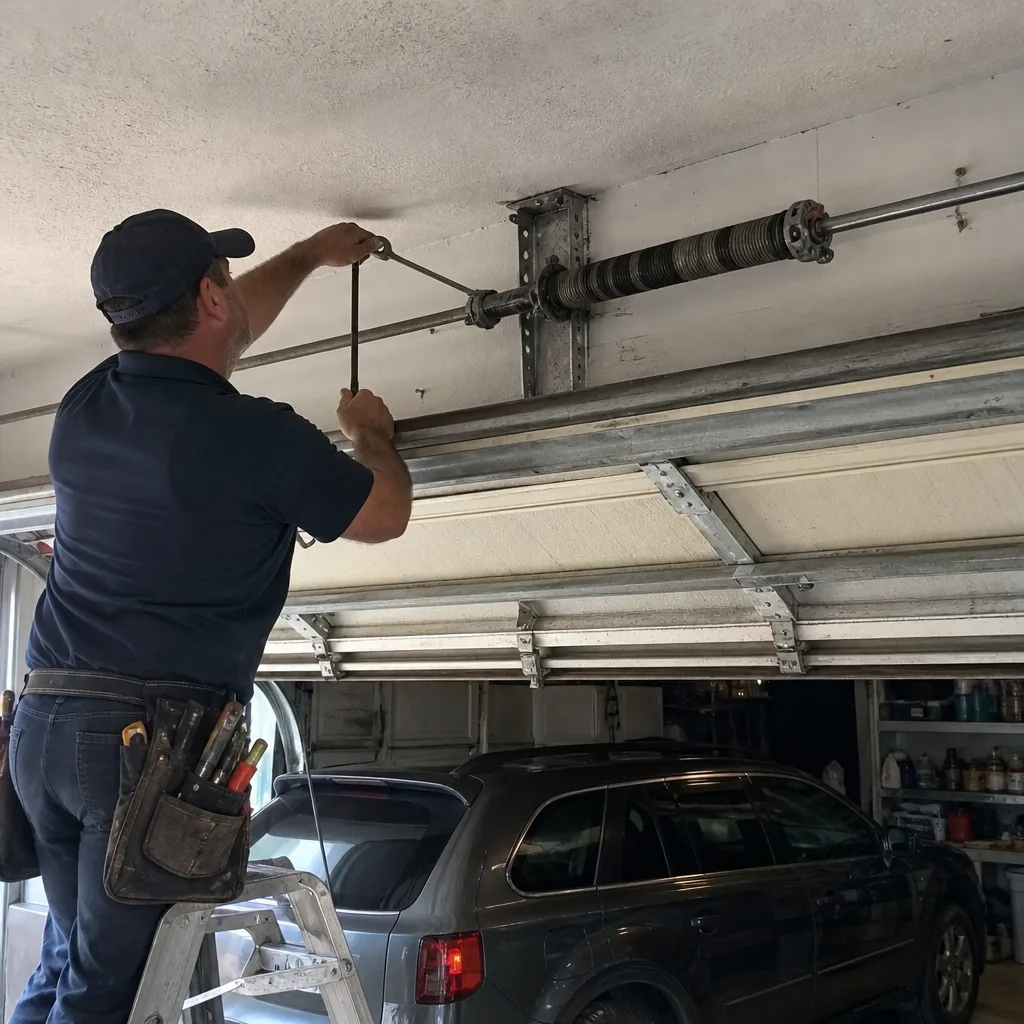
Safety matters here. Torsion springs are under constant tension that can cause serious injury if released improperly. Do not attempt to remove, adjust, or replace a torsion spring yourself. This is the point where a specialist makes the difference. Our technicians work on the spring system your door actually uses, from a broken spring to a full new door if it comes to that.
Pattern Three: The Door Reverses Before Hitting the Floor
This is the pattern that confuses homeowners most. The door comes down most of the way, then reverses back up without ever touching the ground. People assume it’s a safety sensor problem. Sometimes it is. But more often than not, this specific behavior points to one of three things: photo eye misalignment, a closing force setting that’s too sensitive, or a track obstruction near the bottom that triggers the opener’s safety reversal.
Here’s how to narrow it down:
- Watch the sensor lights. Both photo eyes at the bottom of the track have small indicator lights. On LiftMaster and Chamberlain openers, both should glow steadily. If one is blinking or dark, the beam is interrupted or misaligned. Gently adjust the sensor brackets until both lights are steady.
- Check for a physical obstruction late in the downward travel. Something as small as a rake handle leaning against the wall at the two-foot mark can interrupt the beam momentarily, triggering the reversal.
- Look at the bottom seal and track. A bent bottom section, a loose hinge, or debris caught mid-track can create enough physical resistance that the opener reverses to prevent damage. Run your hand along the lower track (with the door fully open) and feel for rough spots or bent metal.
In Kissimmee’s humid climate, we see one additional culprit all the time: swollen weatherstripping. The rubber bottom seal absorbs moisture over a few seasons and can expand enough to make the door think it’s hit the floor early. If your door reverses just before closing and the seal looks puffy or misshapen, replacing the bottom rubber is a simple, low-cost fix. This is the kind of local climate knowledge that helps our team diagnose doors that other companies misread as opener failures.
Pattern Four: The Door Reverses Immediately After Touching the Floor
This is the other side of the coin, and it’s a completely different mechanical story. The door travels all the way down, touches the concrete, and then bounces back up as if it hit something it didn’t like. On the surface, this looks identical to the previous pattern. Underneath, it’s usually a limit setting issue or a closing force calibration problem.
The opener’s internal logic works like this: when the door meets resistance at the bottom of its travel, the unit interprets that resistance as contact with an obstruction and reverses. If the limit adjustment is set even slightly too far down, the door drives into the floor, the opener reads the impact as an obstacle, and the safety reversal kicks in.
The fix on most modern LiftMaster, Chamberlain, and Genie openers is an adjustment of the down-limit setting. On units with buttons and a display, it’s a matter of reducing the down travel by a fraction of an inch until the door rests lightly on the floor without pressing into it. On older dial-type openers, a small flathead screwdriver adjusts the limit potentiometer.
If they’re simply miscalibrated due to wear, the motor may need the adjustment anyway, but if the issue is that the gear is slipping or the motor’s RPM sensor is failing, a limit tweak won’t hold. In our experience, doors that repeatedly reverse at the floor even after adjustment usually have a worn travel module or drive gear inside the opener unit itself.
Pattern Five: Grinding, Squealing, or Rattling Noises
Noises are the earliest warning sign of mechanical wear. That’s why we’d prefer you to call us at the first squeak rather than the last failure. Here’s how to read the sounds:
- Squealing or high-pitched chirping coming from the roller area means dry or worn rollers. Metal rollers without sealed bearings wear out and start to drag. Nylon rollers with seized bearings produce a similar sound.
- Grinding or crunching from the opener motor strongly suggests stripped gears inside the unit. Chain drive openers use a nylon drive gear designed to fail before the motor does. Once the teeth strip, every open and close cycle grinds metal on nylon.
- Rattling or thumping as the door travels points to loose hardware or a door that’s slightly out of alignment. In Kissimmee’s sandy soil, concrete settles subtly over time. A garage door that was perfectly installed a decade ago may now be racked just enough to shake the track bolts loose.
- Popping sounds at the hinges mean a section or hinge is binding. This is common on older doors that have accumulated dust and grit in the hinge pins, especially after Florida’s dry season kicks up dust that settles on everything.
These sounds are diagnostic, not merely annoying. A squealing roller is telling you that the steel track is wearing unevenly. Replace the roller now, and you extend the life of the entire door by years. Ignore it, and the track itself may need replacement. We service the brand you already own, and that includes matching the right roller type and track spec to your specific door, not just grabbing whatever fits.
LiftMaster, Chamberlain, and Genie Diagnostic Blink Codes
Modern openers are smarter than most homeowners realize. They monitor their own motors and safety systems, and they report problems through blinking lights. Reading these codes takes 30 seconds and gives you a head start before you ever pick up the phone.
On LiftMaster and Chamberlain openers, look at the learn button, usually a yellow, purple, red, or green button on the back or side of the motor unit. Its LED blinks in patterns that correspond to specific fault codes:
- One flash: Sensor wires are shorted or reversed. Check that the sensor wiring is intact and properly connected.
- Two flashes: One sensor wire is broken or disconnected at one of the two sensor units.
- Three flashes: The door control or wall panel is shorted. A staple pushed too tightly through the wall button wire is the usual culprit.
- Four flashes: The sensors are slightly misaligned or obstructed. This is the most common code we see.
- Five flashes: The motor overheated. Give it 15 minutes to cool down. In Kissimmee’s summer heat, openers mounted in uninsulated garages overheat more often than northern installers would ever believe.
- Six flashes through nine flashes sequentially: The motor circuit, RPM sensor, or internal logic board has failed. This is a component-level opener repair, not a DIY fix.
Genie openers use a different scheme. Most Genie units show a round LED on the motor head that turns red when a fault is detected and pulses a specific number of times. Two red pulses indicate a door obstruction or a closing force issue. Four pulses mean a sensor fault. Consult your Genie manual for exact code mapping; the point here is that the opener is already telling you what’s wrong. Write down the code pattern, and when you call us, share it. It helps us arrive with the right parts the first time.
What to Have Ready When You Call
A phone call to a garage door company goes one of two ways. It’s either a 90-second exchange that ends with “we’ll send someone out” and a lot of unknowns, or it’s a focused diagnostic conversation that gets the right parts on the truck before anyone leaves the shop. The second outcome is what you want. Here’s what to have in front of you:
- The exact symptom, described precisely. Not “the door is broken.” Say: “The door opens about two feet, makes a grinding sound, then stops and reverses.” Precision saves a diagnostic trip.
- The opener brand and model. Look on the motor unit. The brand and model number are printed on a label facing the garage floor. LiftMaster, Chamberlain, Genie, Craftsman, Raynor: each uses slightly different internals, and knowing the model helps us bring compatible parts.
- The door’s age, or your best estimate. Spring life is measured in cycles, and door age tells us roughly how many cycles the hardware has been through. A 15-year-old door with original springs needs very different service than a 3-year-old door.
- The last time anything was serviced. If you’ve had springs replaced or an opener installed in the past few years, that changes the diagnostic picture.
- Any diagnostic code the opener is showing. As covered above, the blink pattern is free diagnostic data. Read it before you call.
We ask these questions on every garage door opener repair call in Taft and throughout the Kissimmee area, because the answers genuinely change what we load into the truck. The right parts for your brand, not a workaround.
Common Mistakes to Avoid
- Ignoring early warning sounds. A squeal that’s been there for six months is a roller destroying a track. The $30 fix becomes a $400 rail replacement when ignored long enough.
- Lubricating your way out of spring failure. If the door is heavy and spring-diagnosis points to failed torsion springs, no amount of WD-40 spraying will change the physics. Springs lose tension when they break or fatigue. Lubricant fixes friction, not tension loss.
- Replacing the opener to fix a spring problem. We see this more than we’d like: a homeowner replaces a perfectly good LiftMaster opener because the door wouldn’t lift, never realizing the torsion spring was the actual failure. The new opener doesn’t fix anything. Diagnose first, then replace.
- Disconnecting the emergency release while the door is open and unsecured. If the springs are broken, a disconnected door is a falling door. If you’re testing manual operation, have a helper and keep control of the door at all times. A broken spring means nothing is holding that door up.
- Attempting to tighten or replace torsion springs without the right tools and training. Torsion springs under tension contain enormous stored energy. A slip during DIY replacement causes serious injury. This isn’t a handyman project.
- Buying generic replacement parts that are “close enough.” A roller that’s a millimeter undersized or a hinge with the wrong offset chews up tracks and throws off the door’s balance. This is where working with a brand-fluent specialist pays off.
- Waiting until the door completely fails to call. The cheapest repair is the one made before a minor problem cascades into a mechanical failure. A door that’s been acting odd for a month is talking to you. Listen.
When to Call a Professional
Some repairs are genuinely DIY-friendly: replacing remote batteries, clearing a photo eye obstruction, tightening a loose hinge bolt, or replacing a worn bottom seal. But the moment the problem involves springs, cables, tracks, or opener internals, the risk profile changes dramatically. Torsion springs require specialized winding bars and hands-on training. Cables can snap under tension and cause lacerations. Opener circuit boards are easy to damage with a single static discharge. If your diagnosis points anywhere in those directions, a trained professional is the only sensible call. Kissimmee Garage Door Service offers free estimates in Kissimmee, call (844) 662-1429, and we’ll listen to your symptoms first, recommend only what’s needed, and quote the price before any work begins.
Frequently Asked Questions
Garage door repair costs in Kissimmee typically range from $125 to $450 depending on the part and the scope of the fix. Minor repairs like roller replacement, sensor realignment, or limit adjustments run at the lower end. Spring replacement, cable repairs, and opener gear replacement fall in the middle. Full door section replacement or rail work lands at the higher end. Call (844) 662-1429 for an exact quote, estimates are free, and the price you’re quoted is the price you’ll pay.
In most cases, yes. We keep common parts for LiftMaster, Chamberlain, Genie, Craftsman, and Raynor systems stocked in our service vehicles so a single trip handles the repair. If you call us early in the day with a clear description of the symptom, there’s a strong chance your door is working again by dinner.
Pull the emergency release cord and try lifting the door manually. If the door feels extremely heavy and will not stay open on its own, the springs have failed. A loud bang from the garage followed by a door that won’t lift is the classic torsion spring failure signature. Do not attempt to replace torsion springs yourself, the tension involved can cause serious injury.
No. The quote we give you over the phone or in a free on-site assessment is the price you pay, agreed before any work starts. If we discover something unexpected during the repair, we stop, explain what we found, and get your approval before proceeding. No surprise invoices.
Yes. Our vehicles carry drive gears, limit switches, sensor assemblies, and other common internals for LiftMaster, Chamberlain, Genie, Craftsman, Raynor, and Wayne Dalton systems. We service the brand you already own rather than trying to sell you a replacement you don’t need.
A blinking opener light is a diagnostic signal even when the door operates normally. On LiftMaster and Chamberlain units, four blinks means the photo eyes are slightly misaligned, a condition that can worsen until the safety reversal prevents closing entirely. Note the blink pattern and call (844) 662-1429 so we can interpret the code and schedule a fix before it becomes an emergency.
The Bottom Line
Garage door troubleshooting is pattern recognition. The seven symptom patterns in this guide, won’t open, opens partway, reverses before the floor, reverses after touching it, grinding noises, uneven doors, and slow operation, each map to a specific subsystem and a specific class of repair. Learning to identify which pattern you’re seeing takes five minutes and changes everything about your conversation with a repair company. The door tells you what’s wrong. When it’s something simple, fix it yourself. When it’s a spring, cable, or opener issue, call a specialist who knows your brand and carries the right parts. From opener repair to full new-door installation in Taft, one call covers it: (844) 662-1429.
Written by the team at Kissimmee Garage Door Service, serving Kissimmee since 2011. Explore more guides & resources on our blog.
See the difference
 Before
 After
 Before
 After
 Before
 After